")
Why Label + Describe Writing Works for ESL Beginners
Many early English learners struggle to begin writing because writing feels abstract. Start with label and describe writing. Labeling is the perfect entry point because it’s visual, concrete, and accessible. Students can look at a real image and attach meaning to new words.
Describing is the next step; it moves students into building complete sentences, practicing adjectives, and using simple verbs like run, hop, fly, and climb. When we combine labeling and describing:
-
Vocabulary sticks faster
-
Students practice real academic language
-
Speaking and writing skills grow together
-
Kids feel successful (which motivates them to keep writing!)
Step 1: Build Vocabulary With Real Photos
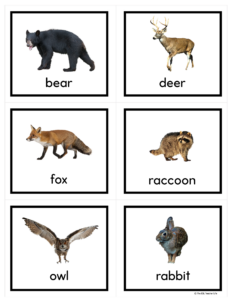
The first step is always vocabulary. Real photos help beginners understand new words instantly—there’s no guessing or confusion.
Introduce key woodland animals such as:
🦊 fox • 🦌 deer • 🐻 bear • 🦉 owl • 🐰 rabbit • 🦝 raccoon
With the vocabulary cards in this unit, you can try these quick activities:
-
“What do you see?” warm-up
-
Sorting animals by size or colors
-
Quick turn-and-talks using “I see a ___.”
These simple routines build confidence before students ever pick up a pencil.
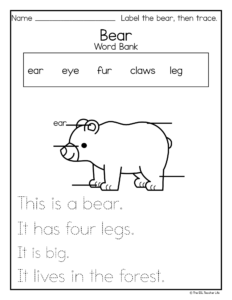
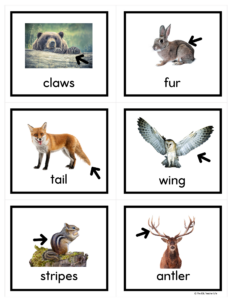
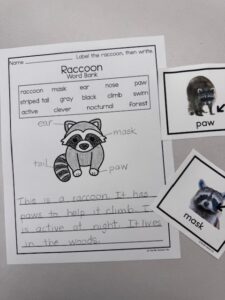
Step 2: Label the Parts of Woodland Animals
Next, we move into labeling. Students label body parts like ears, tail, legs, fur, and eyes. Labeling helps students understand both science vocabulary and descriptive vocabulary they’ll later use in sentences.
Differentiation is easy:
-
Newcomers: Using a word bank and tracing
-
Emerging writers: Write each word independently
-
Ready for more: Add a simple sentence like “A squirrel has a long tail.”
Labeling gives students the language they need to describe animals later.
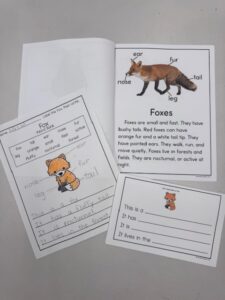
Step 3: Write Describing Sentences
Once students know the animal vocabulary, it’s time to build sentences using simple frames:
-
“A fox has ___.”
-
“A rabbit can ___.”
-
“The owl is ___.”
I model each one in front of the students, gesture, and we act things out when possible (kids love it!). Students can use sentence frames as support, or write independently once they’re ready.
The writing pages in the Woodland Animals unit give students clear visuals and scaffolds so they can focus on language, not guessing what to write about.
Step 4: Add Speaking to Boost Confidence
Speaking is a powerful tool for English learners. Before writing, I always give students time to practice describing the animals out loud with a partner.
Try this simple routine:
-
Look at the picture.
-
Label the parts you can see.
-
Say 3-4 describing sentences:
-
“This is a ___.“
-
“It has ___.“
-
“It can ___.”
- It lives ____.”
-
This repetition helps students feel confident when they finally write their sentences.
Step 5: Easy Extension for More Language Practice
Once students get comfortable, you can build on the lesson with quick extensions:
Students choose one woodland animal and write 2–3 descriptive sentences.
Label and Describe Writing Tips for Success
To help your newcomers thrive, keep these tips in mind:
-
Keep sentence frames visible at all times
-
Model every step with a think-aloud
-
Use gestures or act out verbs
-
Offer lots of speaking time before writing
-
Celebrate progress, not perfection
These routines help even your quietest newcomers feel successful.
Ready to Try Label and Describe Writing With Your Students?
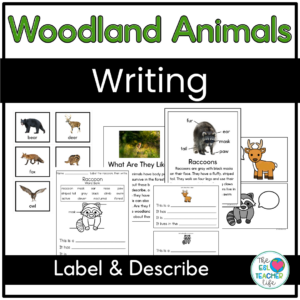
If you want a print-and-go way to teach woodland animal vocabulary and writing, my Label & Describe Woodland Animals Unit has everything ready for you:
 Real photo vocabulary cards Label and describe writing pages for multiple animals Sentence frames for support Writing extension activity Low-prep and newcomer-friendly
It’s designed specifically for ESL/ELL/ELD teachers in K–2 who need simple, effective language routines that students can understand right away.
Check it out:
Labeling and describing are two of the most powerful, accessible writing routines you can use with multilingual learners. They build confidence, grow vocabulary, and help students express their ideas using simple, clear language.
Woodland animals are a fun, high-interest theme, and the real photos make a huge difference. Students instantly connect with what they’re learning.
I hope this lesson helps your newcomers feel successful and excited to write!
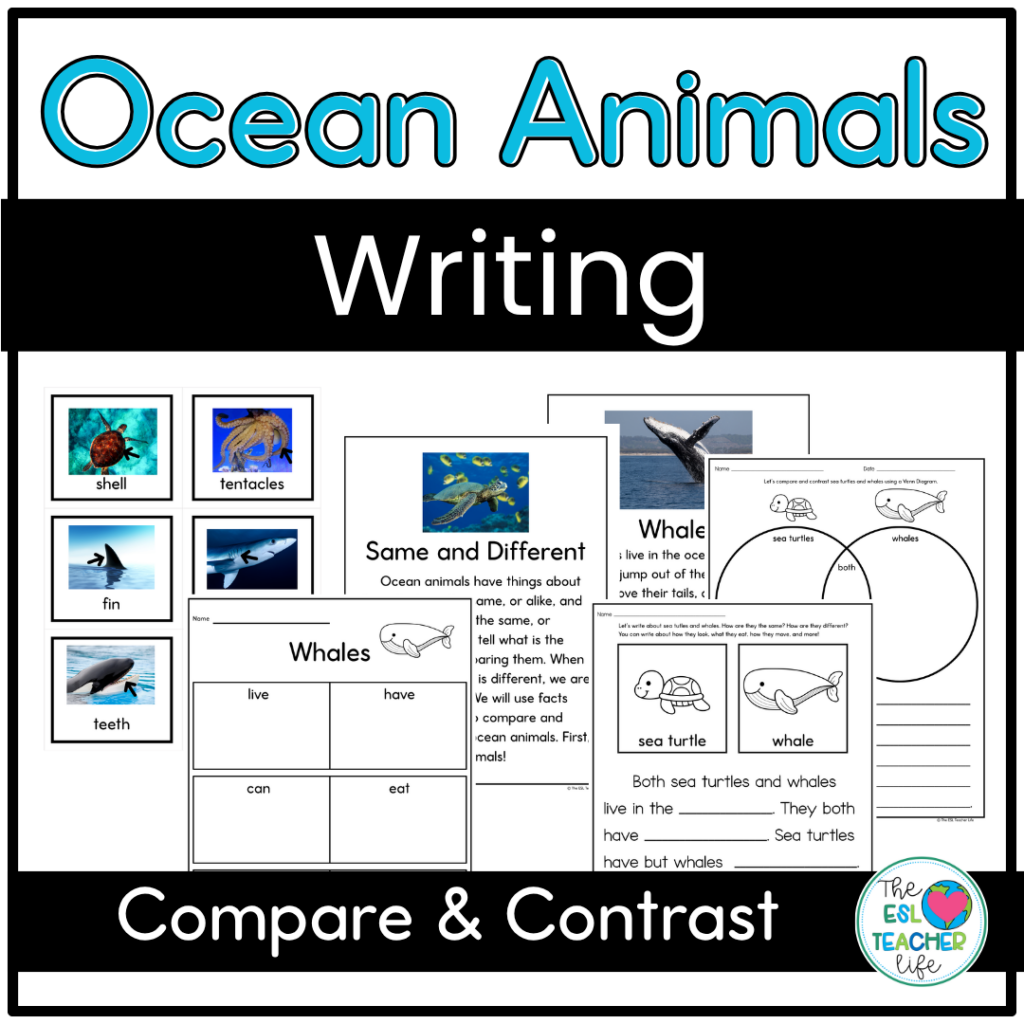
And if you want more be sure to check out the compare and contrast unit which is a great follow up to this unit! Or get the whole bundle now!
Would you like more support with narrative writing? Check out my step by step guide: